Admin posted: "APIs Unleashed 02: Handling Auth Types Once you provide all the details to your request on clicking send we might have received the "401 Unauthorized". Have you ever faced it? Now you can relate that this is due to the missi"
Once you provide all the details to your request on clicking send we might have received the "401 Unauthorized". Have you ever faced it? Now you can relate that this is due to the missing authentication details for accessing that API.
When you start working with the third-party APIs, they use different API authentication methods. This will provide you the authorization for accessing those APIs.
Most frequently used methods are:
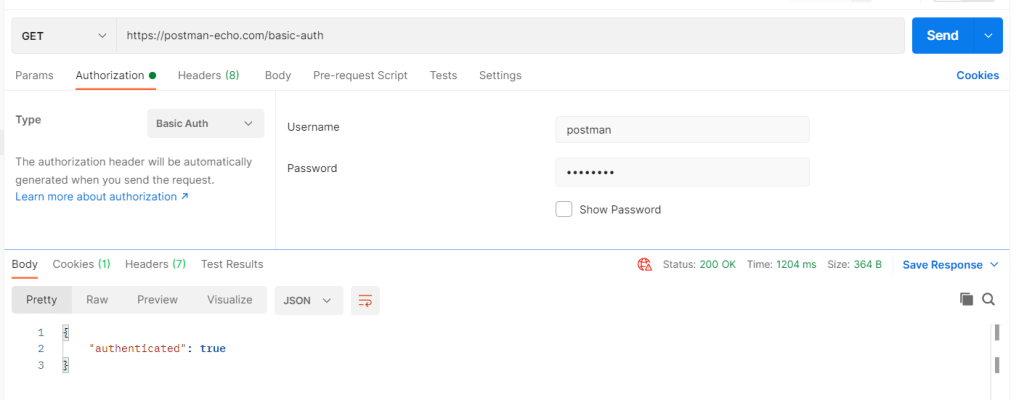
1. Basic authentication: As the name suggests, it is the basic method where the Username and Password combination is sent with every API call
2. API Key: A unique key generated for your account which you need to pass it with every request
3. OAuth: When user clicks on a sign-in button, grants permission, and your app can authenticate each request with an "access_token". If you are new to OAuth, please check this resource: https://aaronparecki.com/oauth-2-simplified/
Postman: Handling Auth Types
Let's see how we can handle different Auth Types using POSTMAN
You are aware of the types of authorization, now you are so curious to learn how the auth types are handled in Postman.
In Postman, you can see the "Authorization" section in three levels: Collection, Folder and Request. This means that you if have a certain list of API requests following the same auth type and details you can make a single folder for them and define the Authentication details in the folder level.
If the Authentication details are same for the complete collection, you don't need to provide them in the folder/request level, you can select the authorization type and add the details to the collection level, which is applicable for the every folder/request under that collection.
There are many auth types supported by Postman. It is always better to store the values related to authentication as variables in postman. You can read this to know more about the variables types in Postman read this blog. We can see this in detail with some example APIs.
Without the correct username and password you will receive "401 Unauthorized" error code
So this is is the easiest and pretty straight forward approach.
API Key:
Generally API key is passed along the URL.
You need to first generate the API Key for your account.
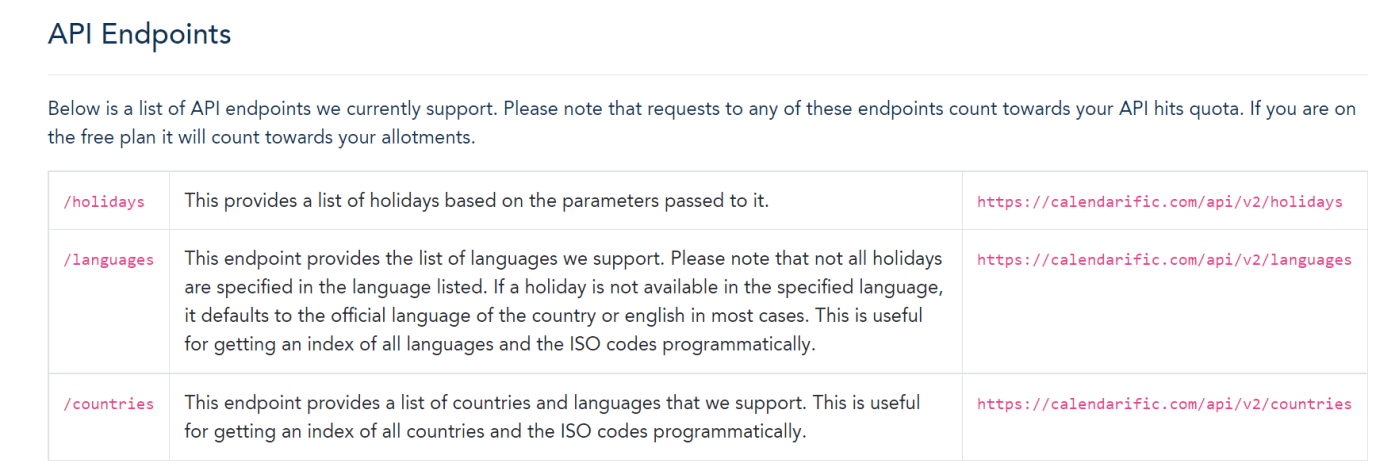
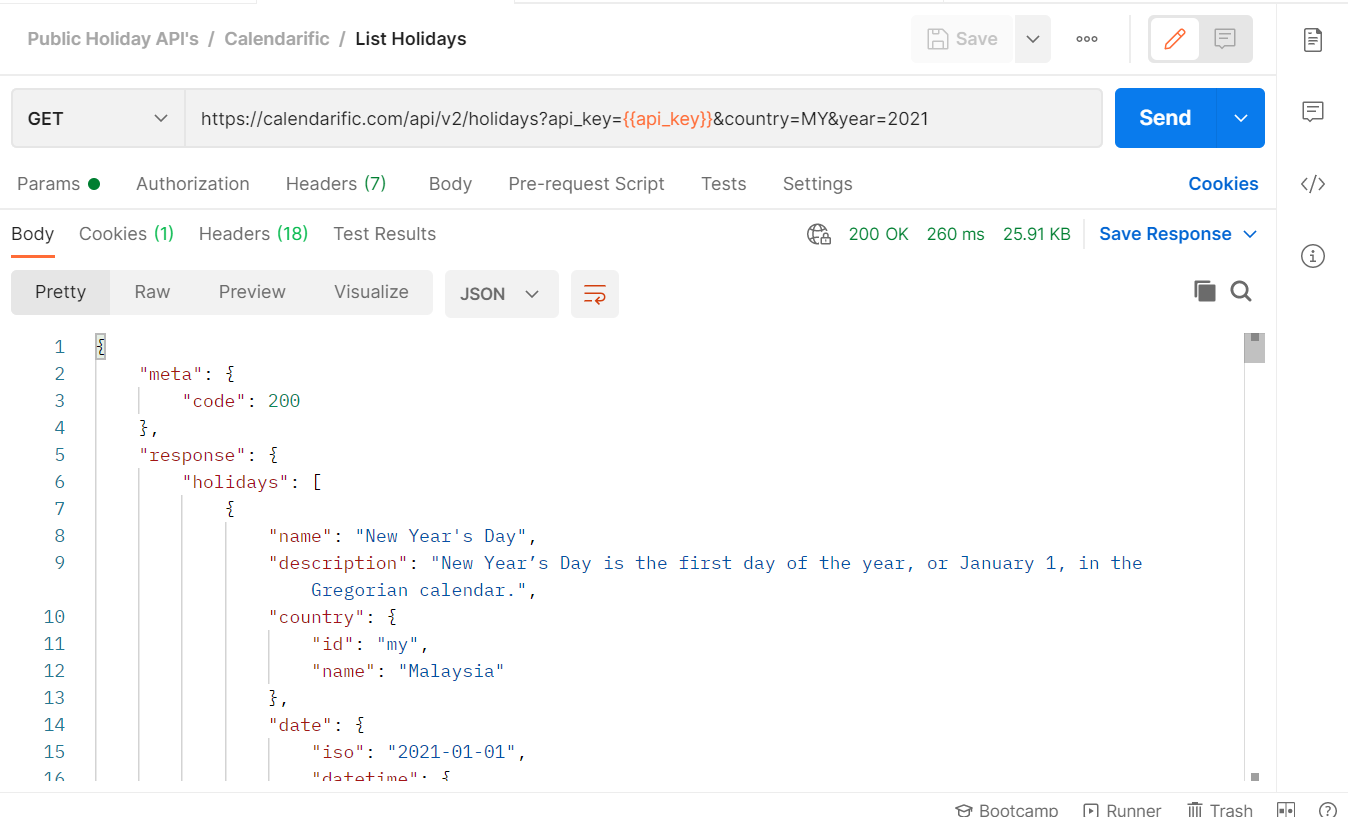
For example, consider the "Calendarific API", this provides the list of public holidays based on the country code. These are the endpoints available:
Under Authentication details, you see the details like below:
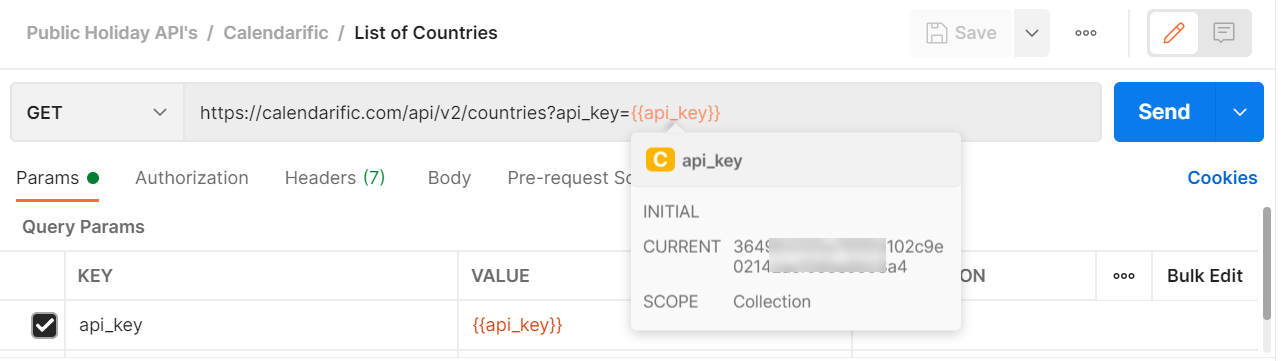
Now you need to copy this API key because this values needs to passed as part of every request. So better create a variable for the API Key as api_key in environment/collection level. In Postman we create a collection so that we can go ahead and create multiple requests under it. If you have any doubts/queries here on creating the workspaces/collections please read this blog.
- Create a new GET request for getting the list of country codes.
In the above URL, I have used country code as MY which indicates Malaysia.
now, the response is as below:
If the api_key is not valid/empty appropriate error code is returned.
OAuth:
The core principle of OAuth is that the end-user doesn't share any credentials with the third-party application. OAuth2.0 is mostly used nowadays due to its multiple grant types, which is the way of getting the access tokens.
Using OAuth 2.0, access token is retrieved for the API at first, then the same token is used to authenticate future requests. Accessing data via the OAuth 2.0 flow varies greatly between API service providers, but typically involves a few requests back and forth between client application, user, and API.
Let's see how OAuth authentication is used in GitHub API.
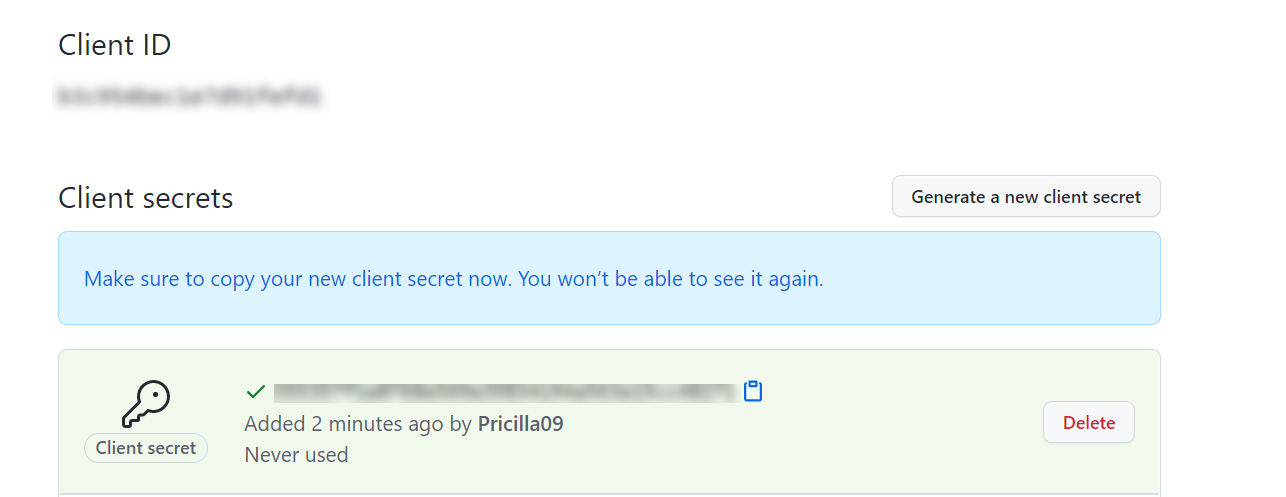
Application name field is user related, you can customize this based on your projects, flows etc. Homepage URL can have any detail. For Authorization callback URL provide the below value: https://oauth.pstmn.io/v1/browser-callback. Once you finish creating the application, Client ID and Client secret values will be generated, make sure to copy those details. Specially for Client secret need to copy to clipboard as soon as it is created, else it will be masked and you need to create a new Client secret.
2. Create a new collection named "OAuth" in Postman, and create a new folder/request inside it to get the repos for your GitHub account using OAuth2.0
3. Select the folder level, under "Authorization" tab, now select "OAuth 2.0" and provide the below values:
Please check here for getting the list of scope values:
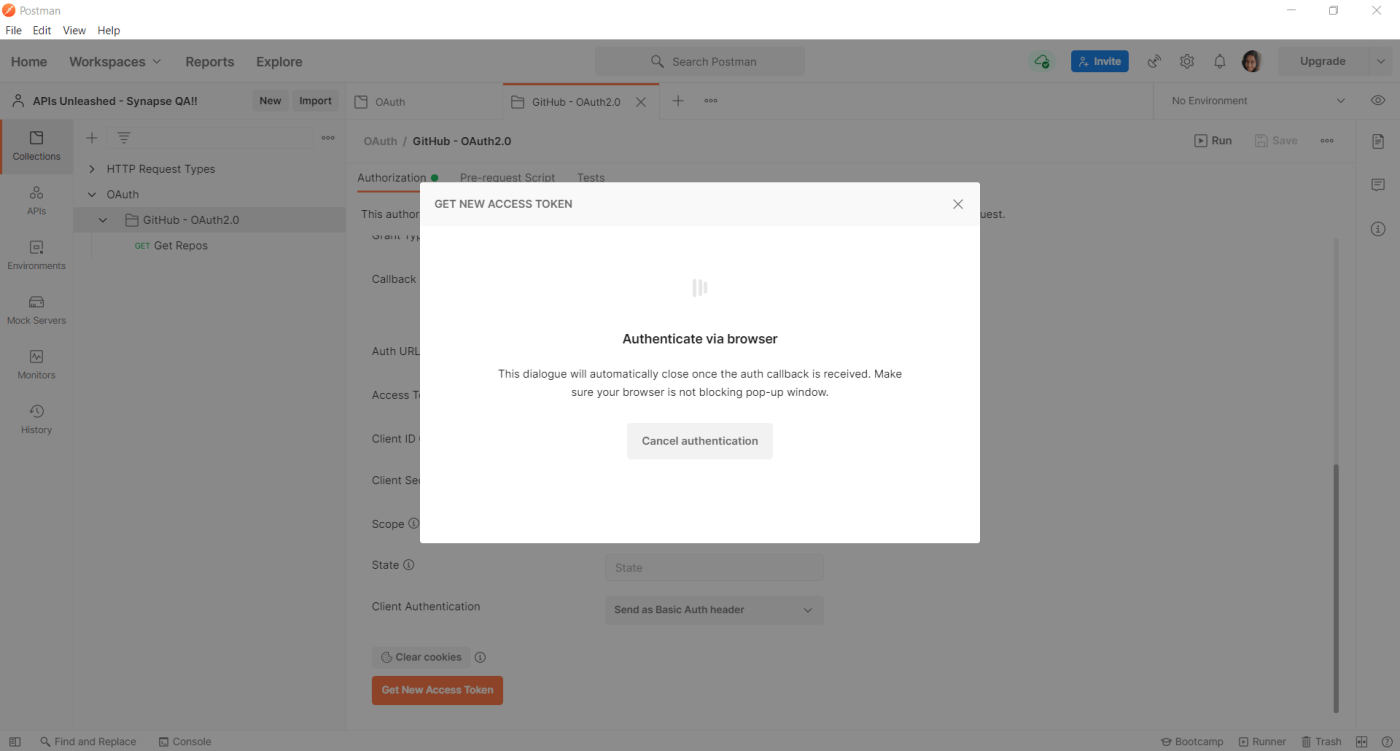
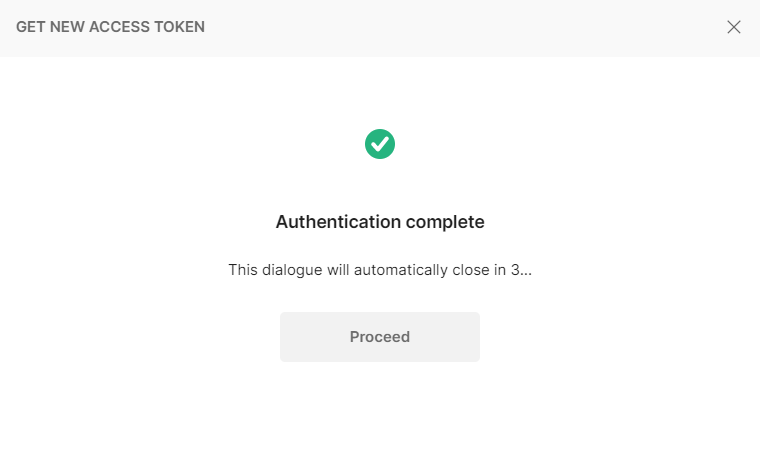
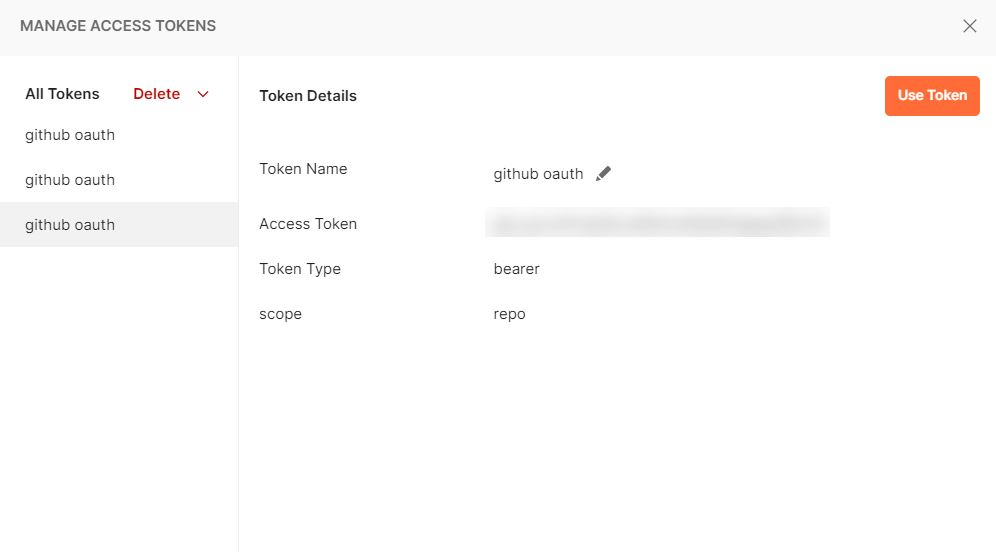
For the first time, you need to provide the log-in details for GitHub and once the application is authorized, you can see the new token.
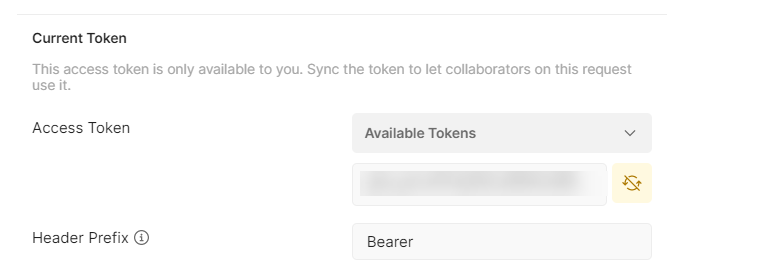
5. Click "Use Token"
And you can see the same token value is added to the "Access Token" field.
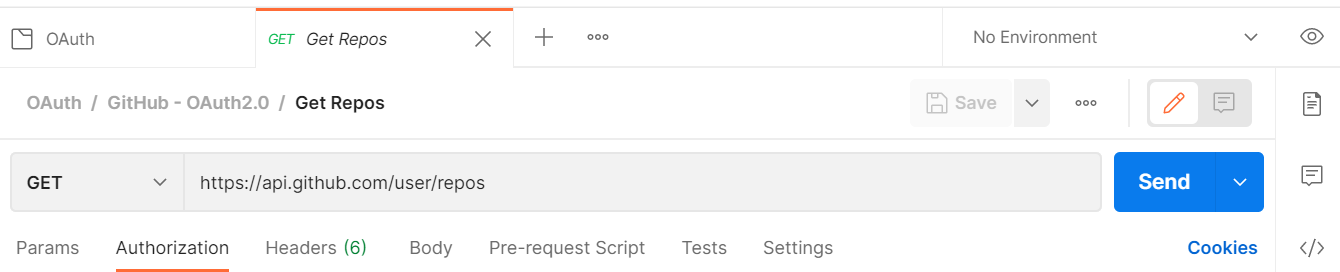
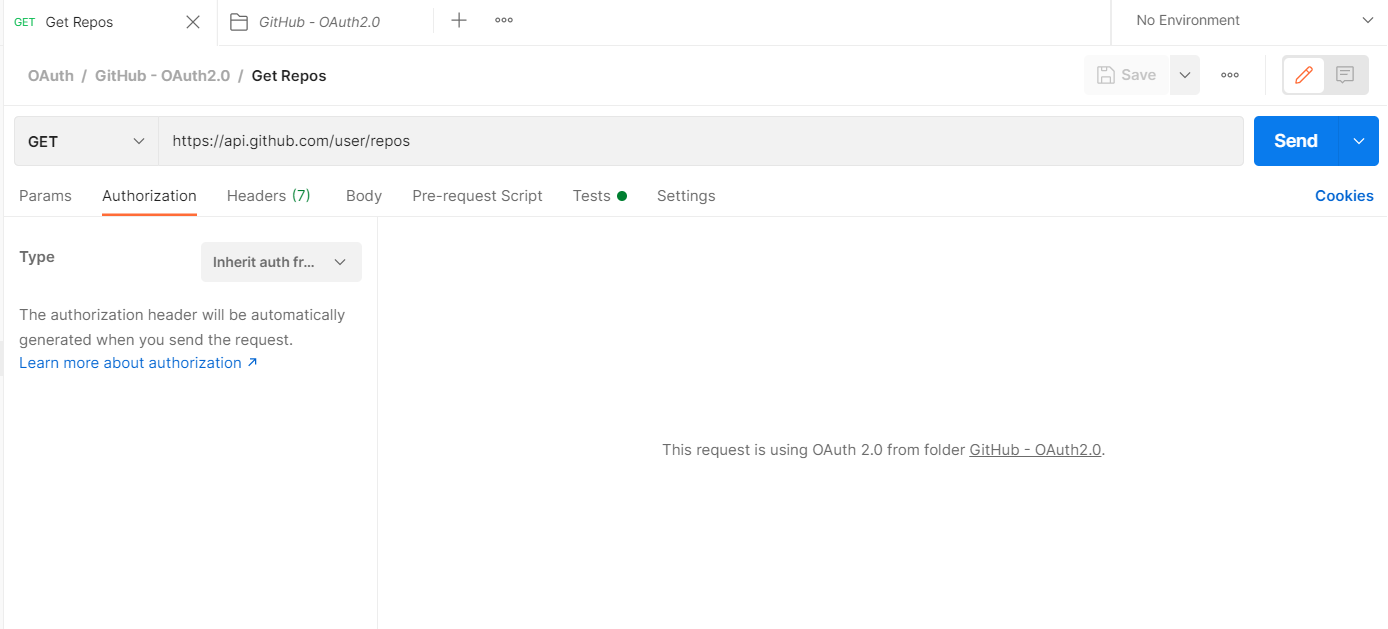
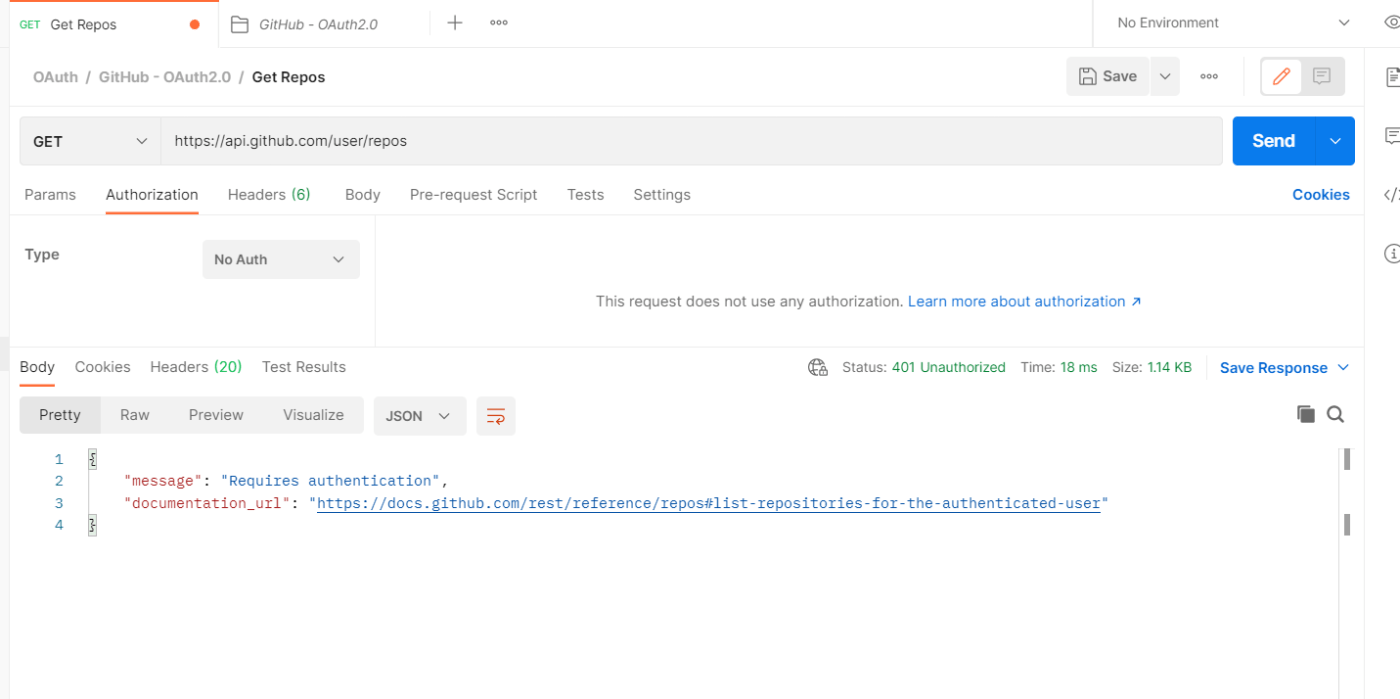
6. For the further requests under this collection, make sure to select the Auth type as "Inherit auth from parent". Create new request "Get Repos" with endpoint: https://api.github.com/user/repos
7. Click "Save" and "Send", the response looks like below.
We have just tried one sample end point for GitHub API, you can try adding multiple requests under the same collection and make sure to select the authorization type as "Inherit auth from parent", else you will receive "401 Unauthorized"
KarateDSL: Handling Auth Types
Let's see how we can handle different Auth Types using KarateDSL
REST API offers multiple types of Authentication methods for secure transmission of data. Let us see few method implementation by using KarateDSL.
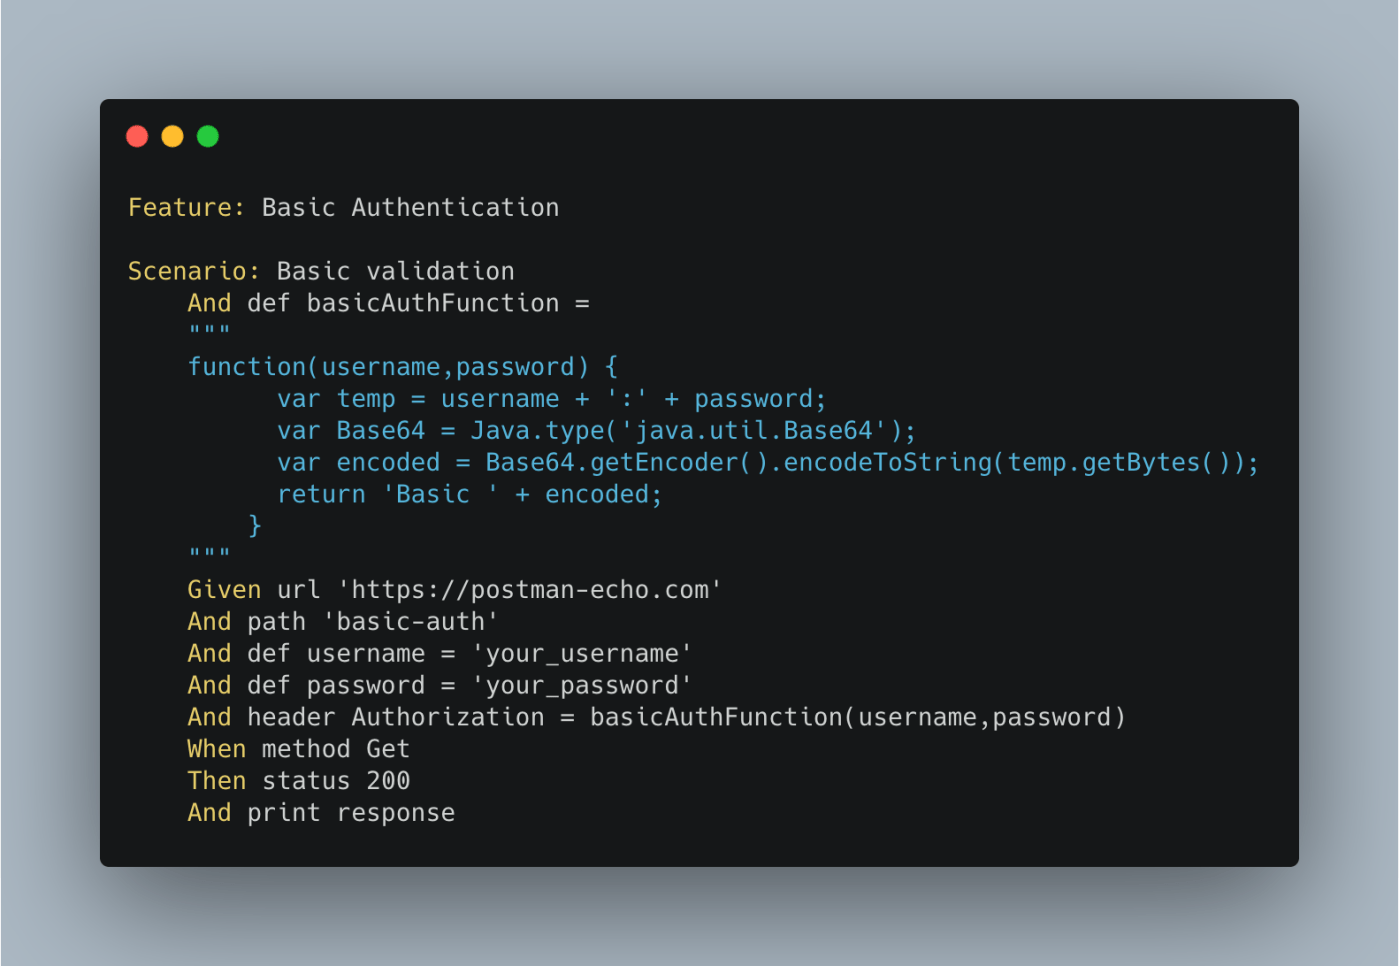
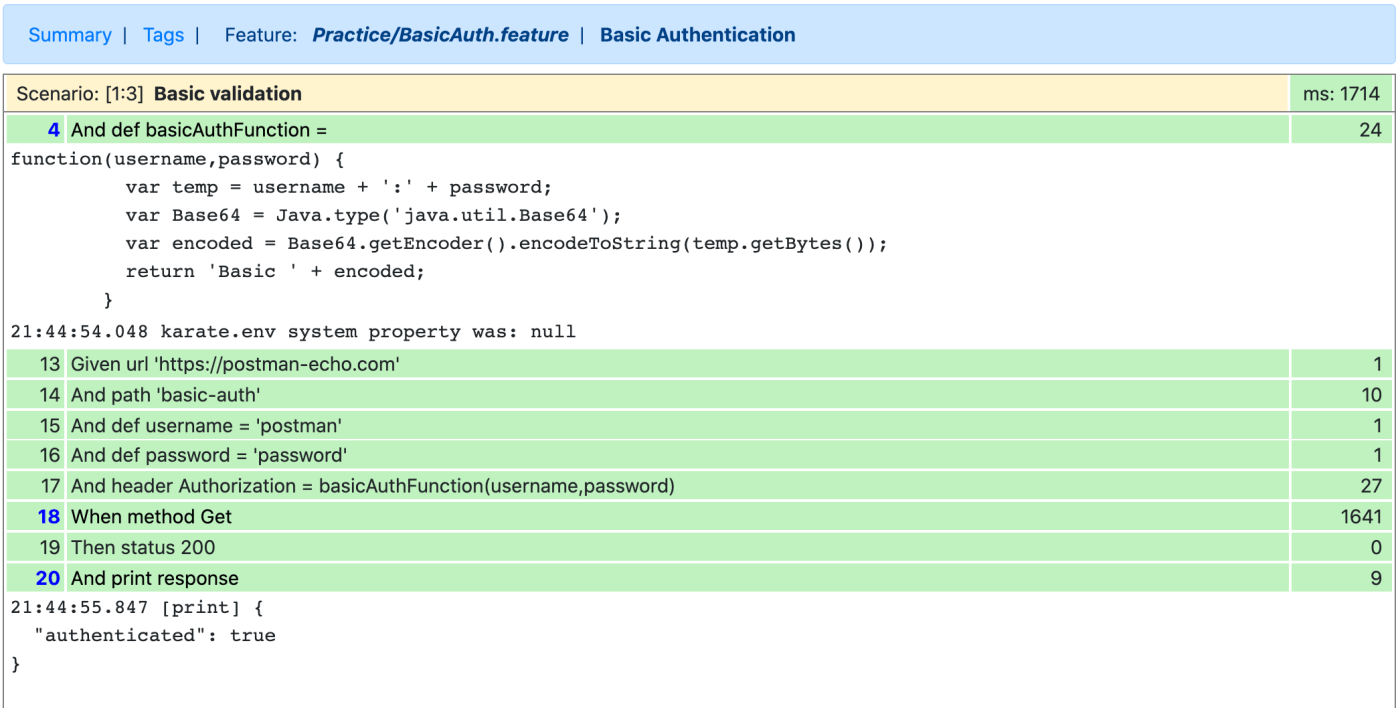
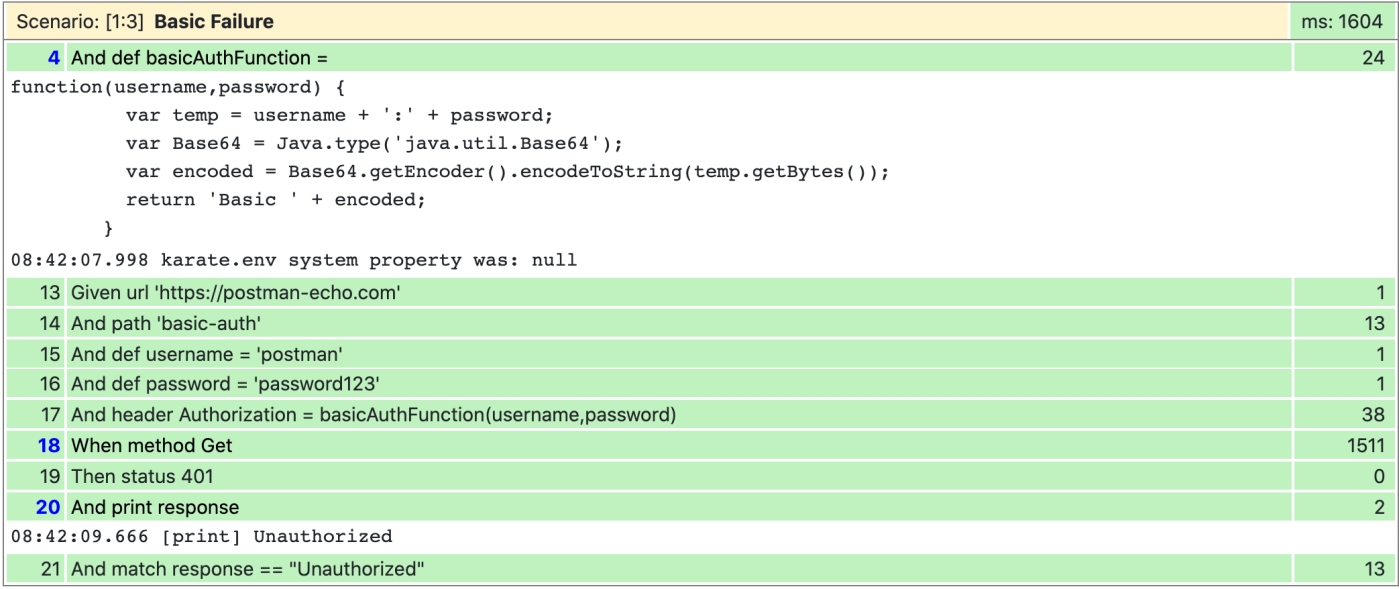
Basic Authentication:
This is the quickest and easiest way. Using this authentication approach, The sender inserts a username:password into the request header. Base64 is an encoding technique is used to turns the username and password into a sequence of 64 characters to ensure secure transmission.
In simple words, each first-time user is assigned a unique generated value under this authentication approach, indicating that the user is known. The user's unique key is used for user authentication when they try to re-enter the system.
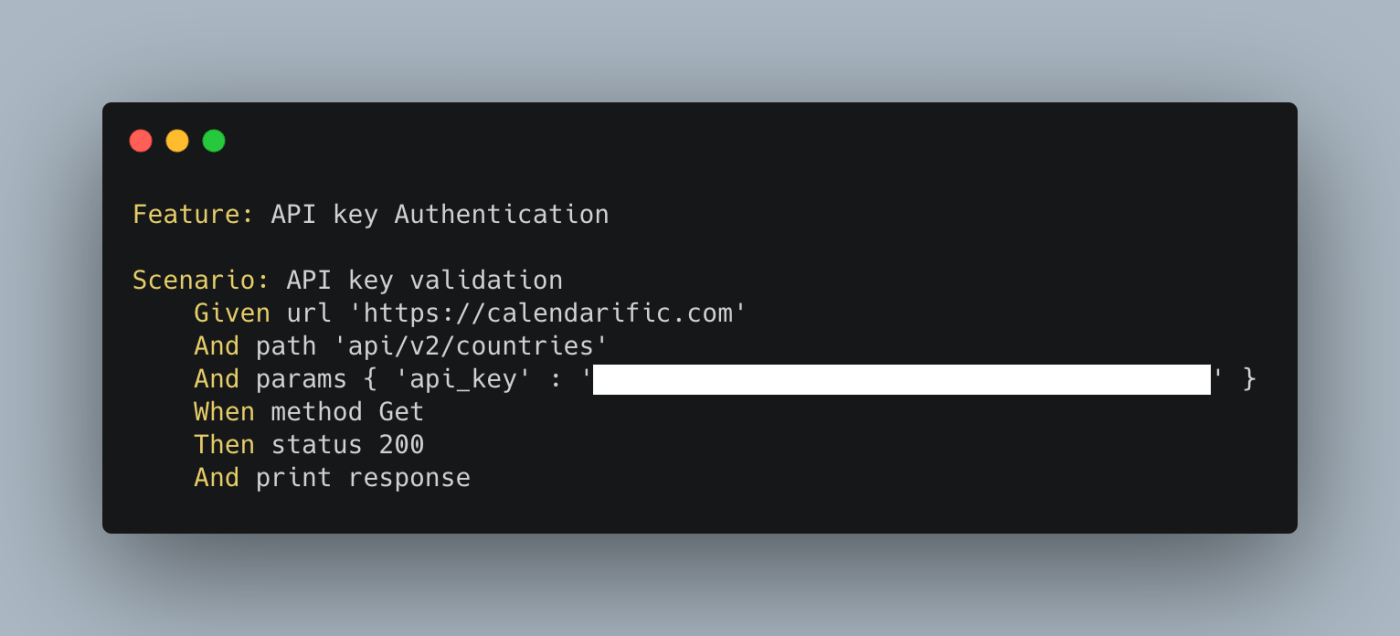
Sample api_key:
I am using Calendarific API for showing the implementation of API Key.
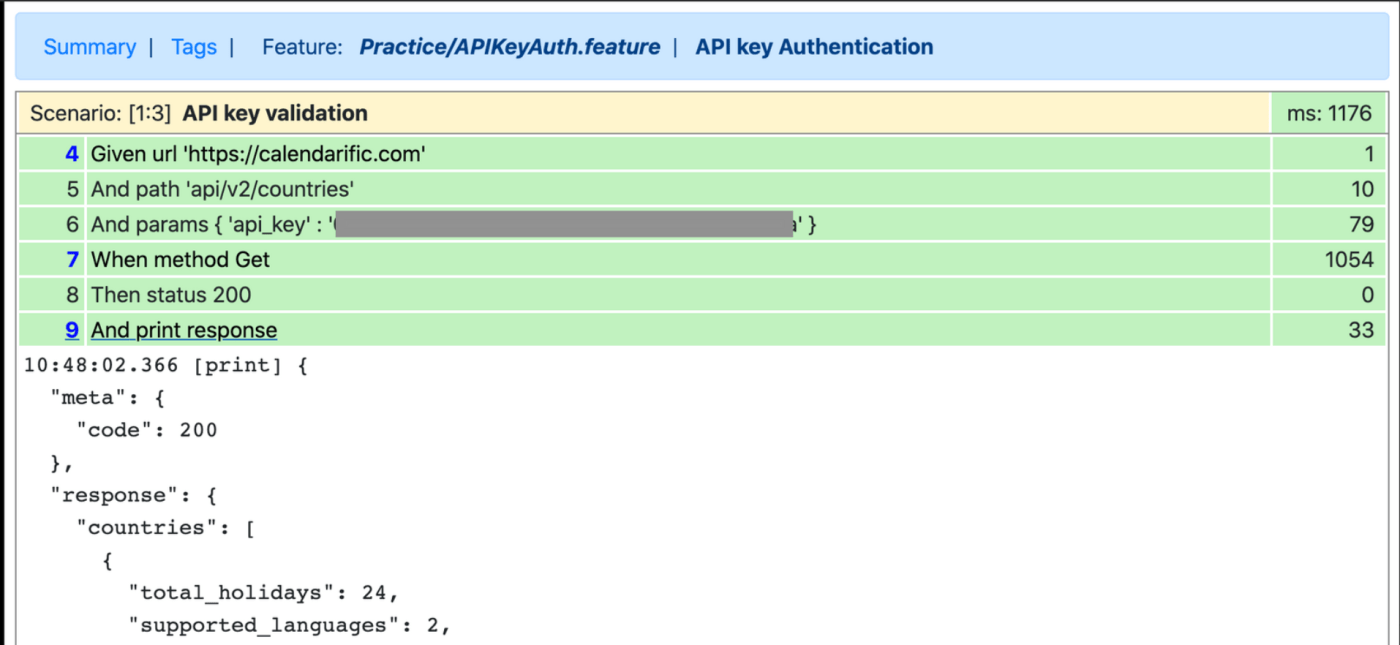
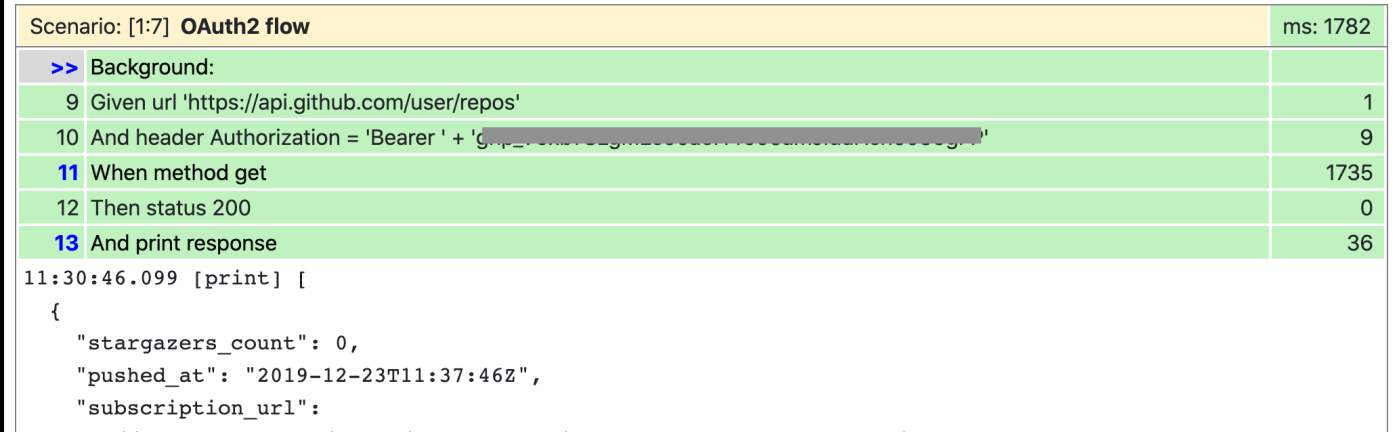
After entering the feature file name in the runner class, execute the test runner file.
To see the recent report, copy and paste the report url into a browser.
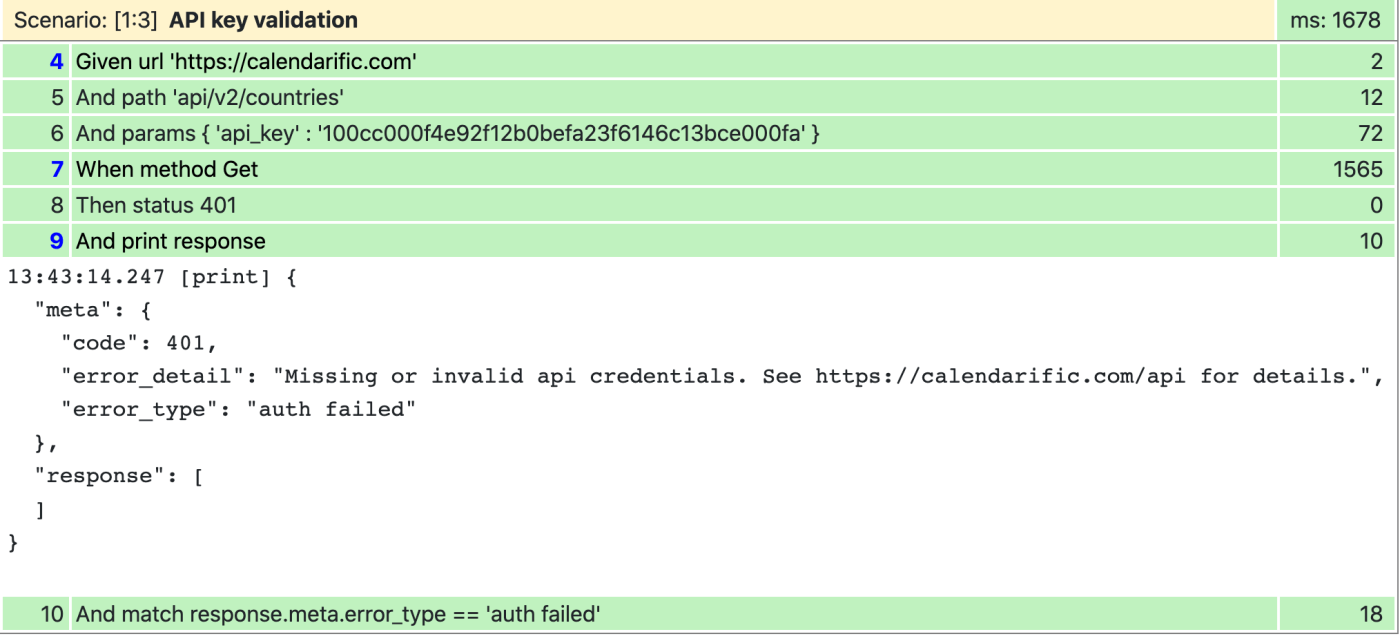
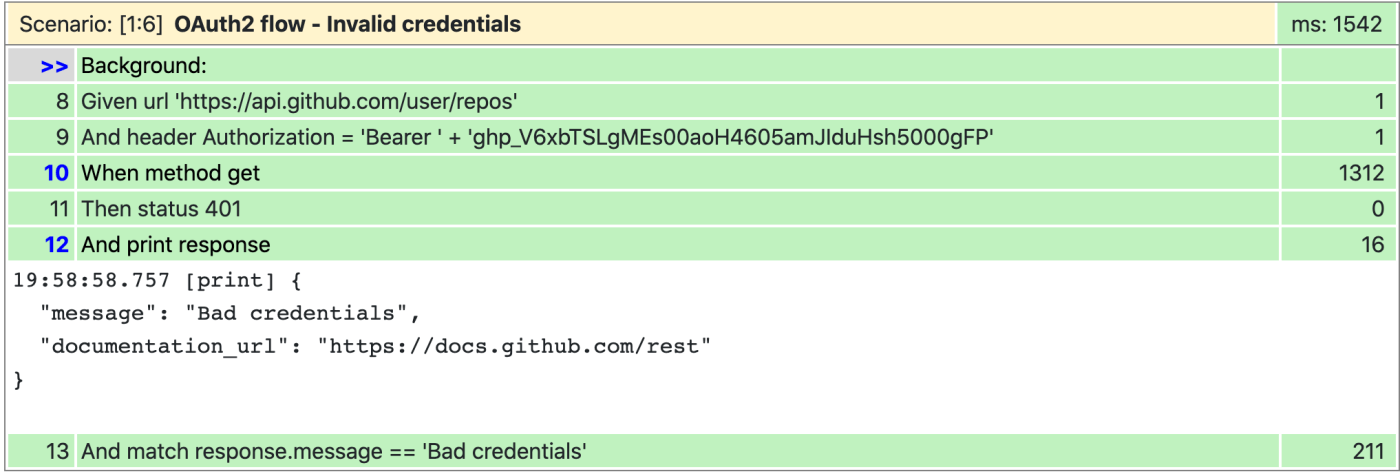
If the API url has an erroneous api_key, a 401 Unauthorized error will be returned.
OAuth:
OAuth2.0- For identifying personal user accounts and granting appropriate rights, OAuth 2.0 is the ideal option. In this method post user login , the system will request for authentication, which is normally in the form of a token. After that, the user will send the request to an authentication server, which will either refuse or accept it.
The token is subsequently given to the user, who then passes it to the requester. The requester can then independently check the token for authenticity at any moment, and it can be utilized throughout time with a carefully defined scope and validity period.
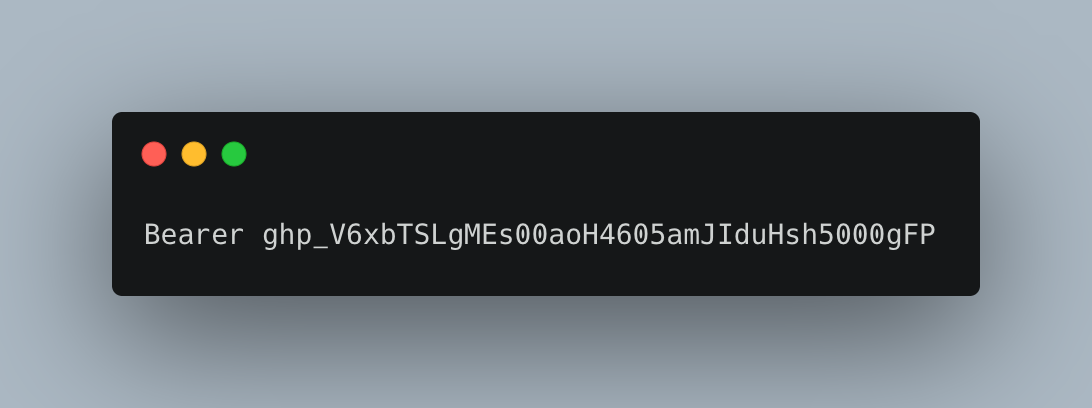
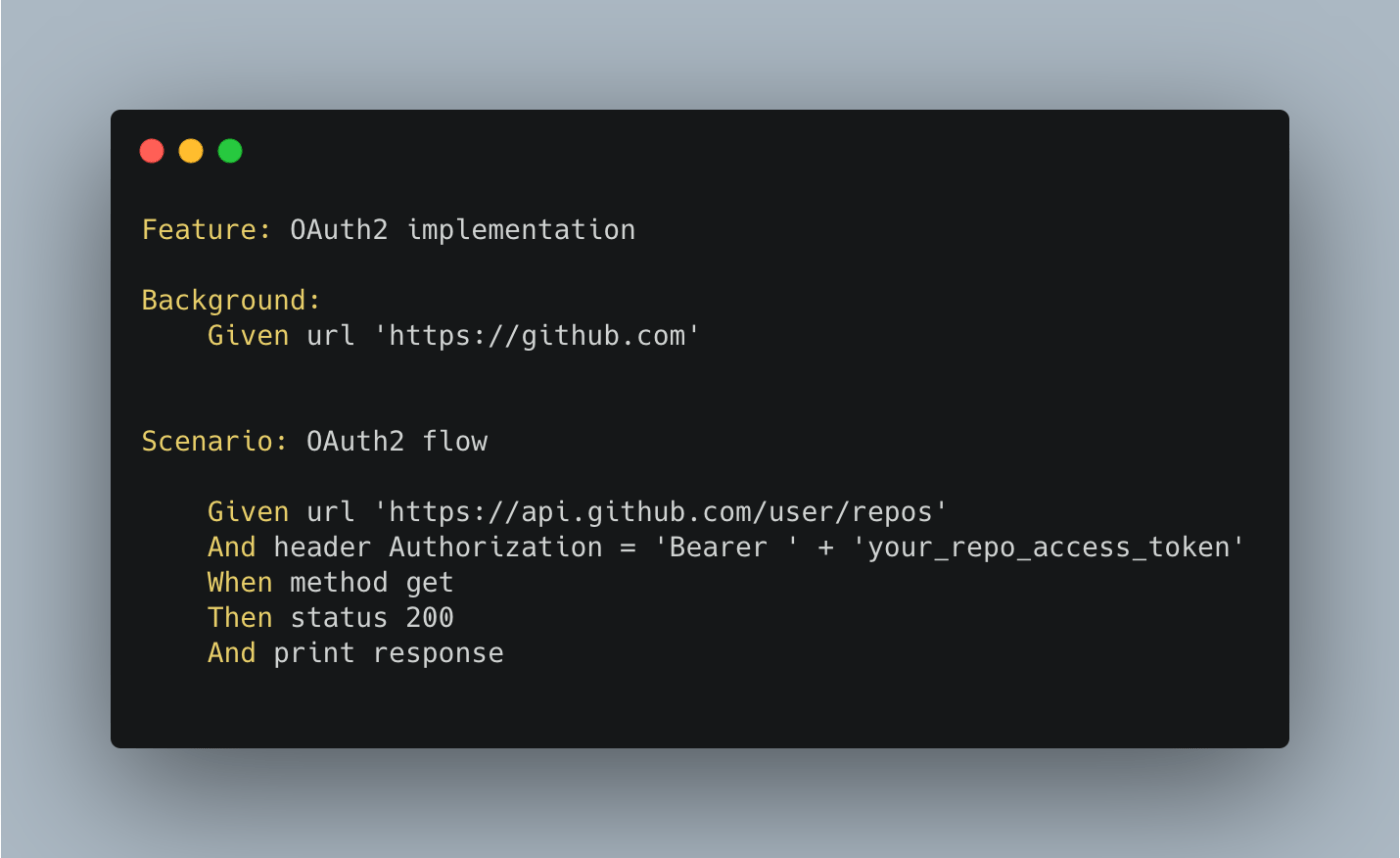
In the following example for automating GitHub OAuth02, we are using non-web application flow where the access token is created manually from the Github's settings.
As illustrated in this feature file, we can supply all the required keys in the "/access token" API's request body (x-www-form-urlencoded).
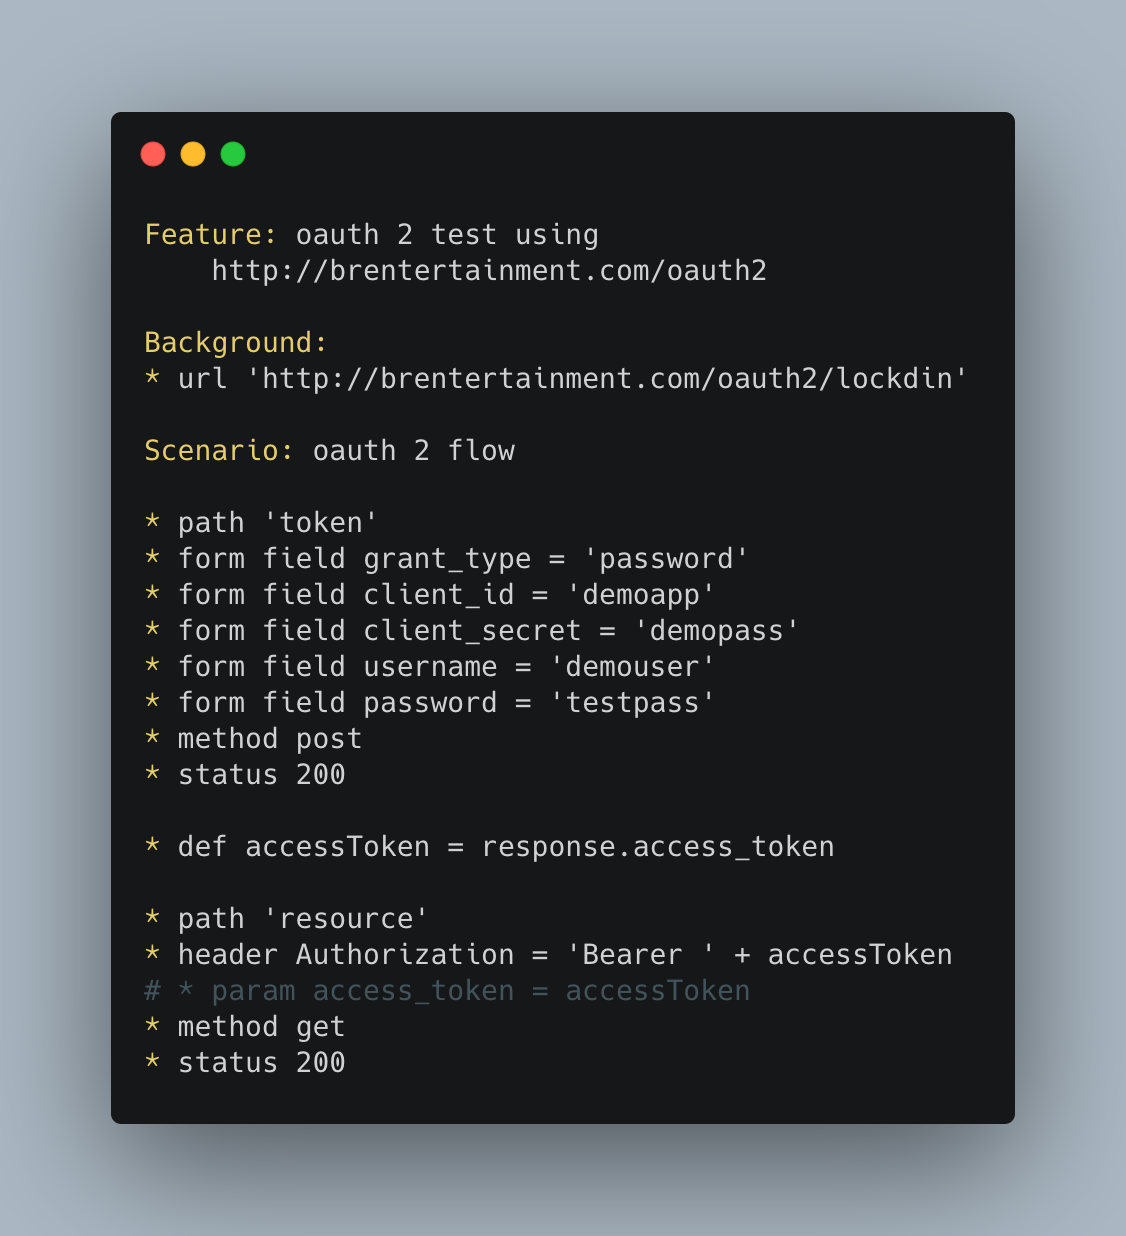
The following is an excellent example from the official KarateDSL Github project.
This is how we will configure/use different Authentication methods for accessing the APIs. You can try exploring the other methods, mostly the API documentation should have all the details. Remember this is the first step and once you are able to get the access, you can then start to play around the other endpoints/capabilities for your API. We hope you never worry about the "401 Unauthorized" error hereafter, because you know the source and you can try to fix it.
Dear readers, thank you for your time. See you in the next few days with our next topic, how to handle REST APIs!!
Disclaimer This is truly a parallel learning series, which is not meant for promotion or degradation of any tools or technologies. We are aiming to give a learning experience for our audience in terms of common scenarios.
Know Our Synapses
Meet the brains behind this learning series!
Let's
Together
Follow Us
Stay updated with all the latest contents & announcements


No comments:
Post a Comment
Note: Only a member of this blog may post a comment.